Easy Gluten Free, Dairy Free Pudding
As an Amazon Associate and member of other affiliate programs, I earn from qualifying purchases.
No matter how old I get, I will always love pudding. I make homemade pudding all the time, because it’s SUPER easy! The same holds true for dairy free pudding. The possibilities on how to use it are endless!
Why Canned Coconut Milk is Important
I originally wrote this post in 2017. I felt however it needed a bit of a refresh. New pictures and such. However, I left the recipe as is. Especially the use of canned coconut milk. I once had a reader state that she used this recipe with a carton of almond milk. It didn’t work. All the additives inhibit the mixture from thickening.
Coconut milk is THE closest substitute I’ve found for regular milk, in cooking and baking. It has very few additives and includes natural fats. It does however leave a bit of a coconut taste, so I usually use it in recipes that include chocolate or other flavors. My Mocha Cake with dairy free ganache is a good example of this.
Corn Starch vs Tapioca Starch
So, this dairy free pudding recipe is NOT grain free. (Not vegan, either.) Should you need a grain free or corn free substitute, you can use tapioca starch instead. While most recipes call for double the amount of tapioca than corn starch, I would use a bit less. When I used double, the pudding was a bit gloppy. (Although still delicious!)
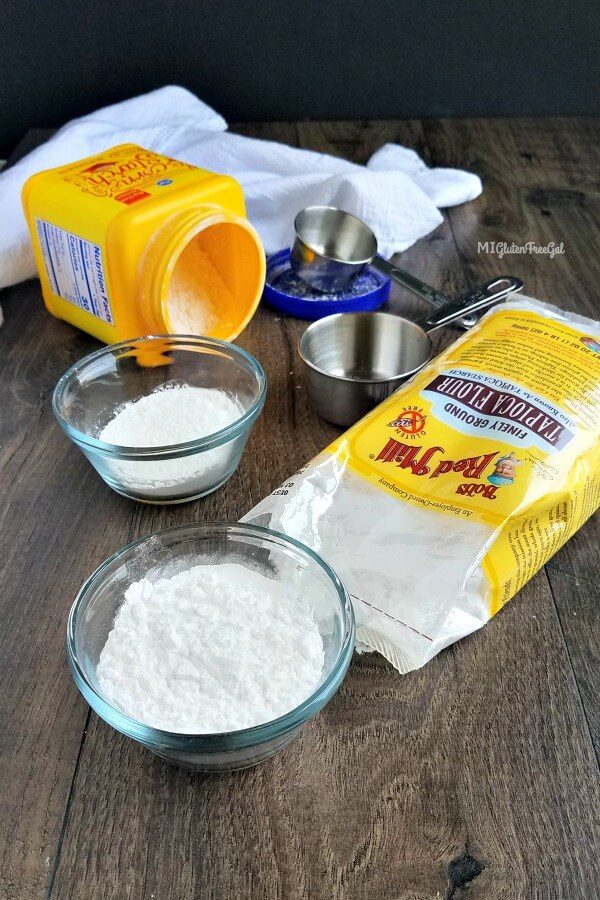
Bob’s Red Mill sells Finely Ground Tapioca Flour (a.k.a Tapioca Starch.) This may seem a bit confusing, as it can’t really be used as a flour replacement. If you were looking for a true grain free flour replacement, for making cookies and such, I would use Cassava Flour. Tapioca is starch extracted from the cassava root, while cassava flour is is the whole root, ground into flour.
Read – “5 Things You Need to Know About Cassava Flour*
Dairy Free Pudding, Parfaits, and Popsicles
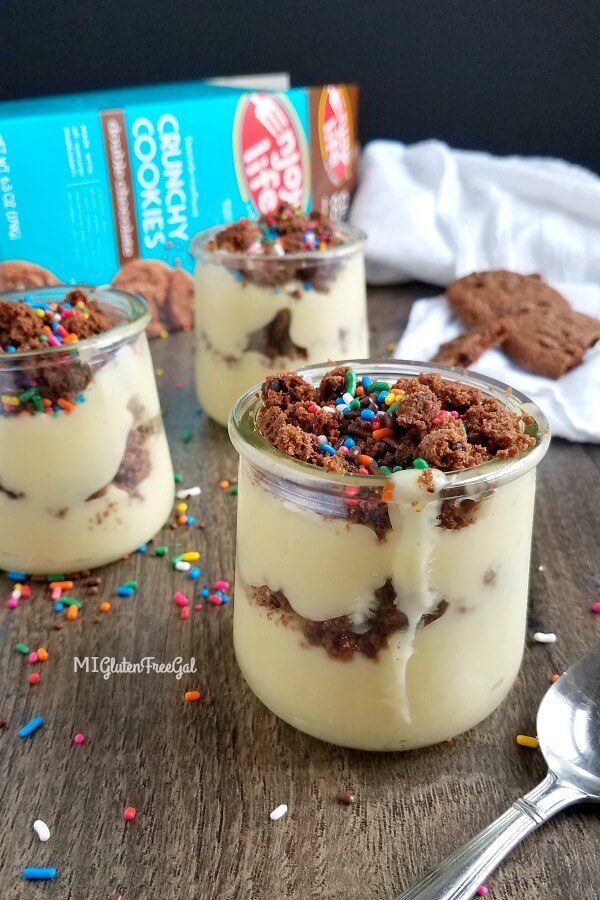
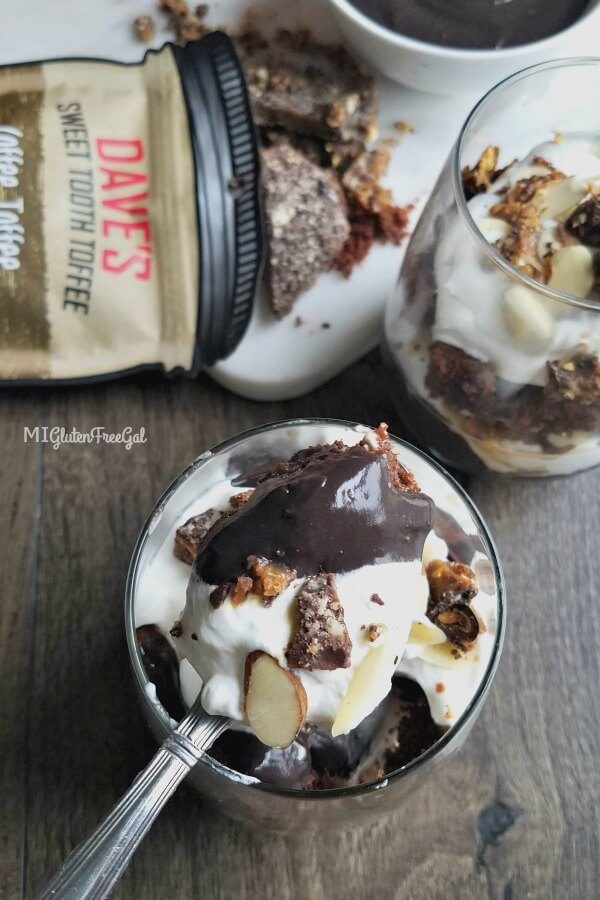
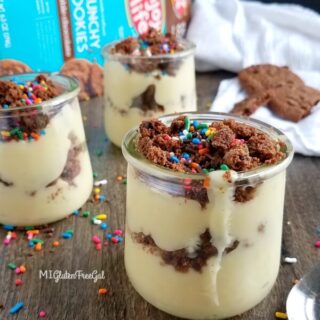
Now, you can eat this dairy free pudding plain by itself. I definitely would. However, I like turning mine into fun parfaits. I mean, if life has layers, why shouldn’t our desserts? And sprinkles, because life can always use more color.
You can also freeze this pudding in popsicle forms. Do it plain, or add in fun mix ins. Add crushed graham crackers and mini marshmallows for S’mores pops. Or add cherry sauce and cheesecake flavoring like Flippin’ Delicious did with her Vegan Cheesecake Pudding Pops. Let your imagination run wild!
Dairy Free Chocolate Pudding, and More!
So how did I come up with this delicious dairy-free gluten-free pudding recipe? Truthfully, I didn’t. Well, not entirely. I simply made two small substitutions (canned coconut milk & coconut oil) in a Martha Stewart recipe. Then, I add whatever mixins I want.
I’ve been using this basic recipe for over a year. It utilizes egg yolks, which I always seem to have left over after making bread. So this dairy free pudding isn’t vegan, but it’s great for those who have a dairy allergy or lactose intolerance. Go to Martha Stewart’s Easy Pudding Recipe for other pudding flavor combinations to try!
Easy Gluten Free, Dairy Free Pudding
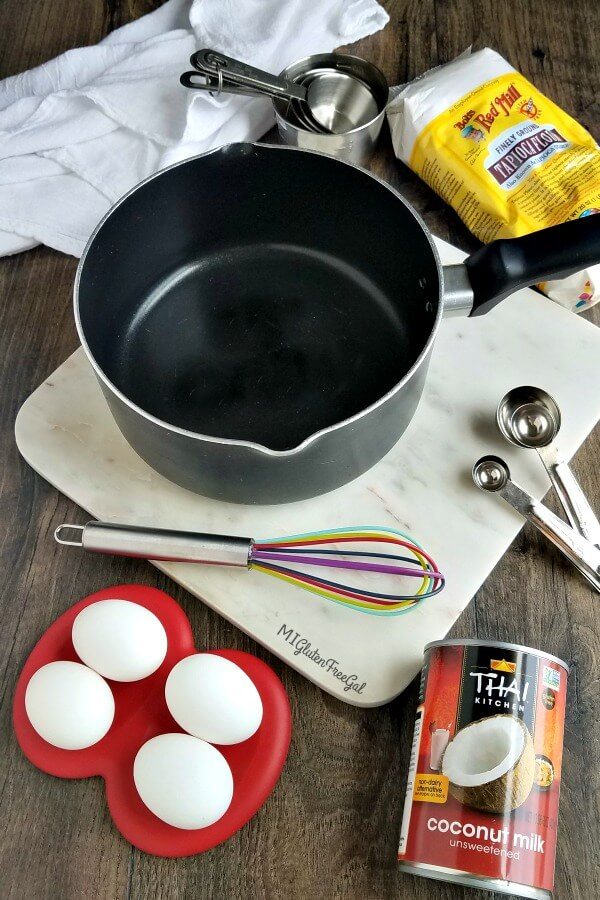
Equipment
Ingredients
- 2/3 cup sugar
- ¼ cup cornstarch
- ¼ tsp salt
- ¼ cup dark chocolate cocoa powder Leave out if you want to make vanilla pudding.
- 2 ½ cup canned coconut milk NOT the stuff from the carton in the refrigerated section.
- 4 large egg yolks
- 2 tbsp coconut oil
- 1 tsp vanilla extract
Instructions
- In a medium saucepan, OFF HEAT, whisk together sugar, cornstarch, and salt. If making chocolate pudding, add cocoa powder. Very gradually (a few tbsp. at a time) whisk in coconut milk, taking care to dissolve cornstarch. Whisk in egg yolks.
- Place saucepan on burner. Whisking constantly, cook over medium heat until the first large bubble forms and sputters. Reduce heat to low; still whisking, cook 1 minute. Remove from heat. Stir coconut oil and vanilla into hot pudding.
- Either in individual bowls, or whole pan, place plastic wrap directly on surface of pudding. This is done to prevent skin from forming on pudding. Chill at least 3 hours and up to 3 days. Before serving, whisk pudding until smooth.
Notes
What’s your favorite pudding flavor? What’s for favorite way to indulge in this childhood favorite? Leave me a comment below!
Will this work for a chocolate pudding pie? Increase the cornstarch to make it thicker perhaps?
While I haven’t tried it yet, I think this would work fine as pie filling. I don’t think you’d need to add extra thickener. Making a pie with it was actually on my list of things to try this week. If I manage to pull it off, I’ll let you know.
Dear Penny, I just tried this pudding recipe as a pie filling. I made it with the 2 1/2 cups of milk. It set and was “cutable,” but it would have benefited from being thicker. I would recommend keeping the corn starch the same, and dropping the milk down to 2 cups. I fancied it up a bit and used 2 tbsp of cocoa and 2 tbsp of powdered peanut butter (instead of 4 tbsp of cocoa), and replaced one of the tbsp of butter with peanut butter. And then topped with pie with chopped Reese’s Peanut Butter Cups.
If you end up making it with 2 cups of milk, let me know how it works for you! 🙂 And sorry it took me a bit to get back to you. I’ve been recovering from COVID.
Hi , i am wondering if you could possibly help me. I am looking for a dessert/pudding recipe that would be Gluten and dairy free. I have “leaky gut” which leads to depression and anxiety so i cannot consume Gluten and or Dairy , but i need something sweet in my life 😭. If you do have something we would be extremely grateful.
This recipe IS gluten and dairy free
Can I substitute coconut sugar in place of white sugar?
I’ve never made it that way, but you can try it. I’m not sure how well the coconut sugar will dissolve in the milk.
Is there a substitute for corn starch i have a child who has gluten dairy and corn allergies and she wants pudding so bad!
I shared in my blog post that you can use tapioca starch instead of corn starch.
Hello, so my question is, the recipe or end notes, kind of, says “Before serving, whisk pudding until smooth.” does this mean if i add this recipe for pudding with pumpkin mix for example, in a swirls, on a gluten free pie crust. the pudding wont stay firm so whisk to make firm or is it that it firms up but when whisked it smoothens?
Dear Timothy, I think I added the line about whisking the pudding because sometimes the top builds a film and can get clumpy. This recipe is originally from Martha Stewart, and she recommends storing the pudding in a large bowl, and then stirring it with a whisk and then placing it in serving dishes. The link to her original recipe should be in the text of my blog post.