Gluten Free “Choco Tacos”
As an Amazon Associate and member of other affiliate programs, I earn from qualifying purchases.
These gluten free “Choco Tacos” combine pizzelles, ice cream and chocolate for a delicious sweet treat. Perfect for a Cinco De Mayo celebration or any day of the week.
What are “Choco Tacos”?
Made by Klondike, Choco Tacos were a frozen treat that consisted of a “vanilla ice-cream core, topped with peanuts and crispy chocolate and wrapped in a sugar cone-like shell.” (The Guardian) However, Klondike discontinued it in 2022. For those of us with Celiac Disease, it impacted us little, as they contain wheat, and therefore gluten.
However, you can relive your childhood memories with this simple gluten free choco taco recipe. While some recipes on the internet call for microwaving and unrolling preformed waffles cones, those are hard to come by. After years of pondering, I finally decided to make my own from scratch.
What Ingredients are in Gluten Free Choco Tacos?
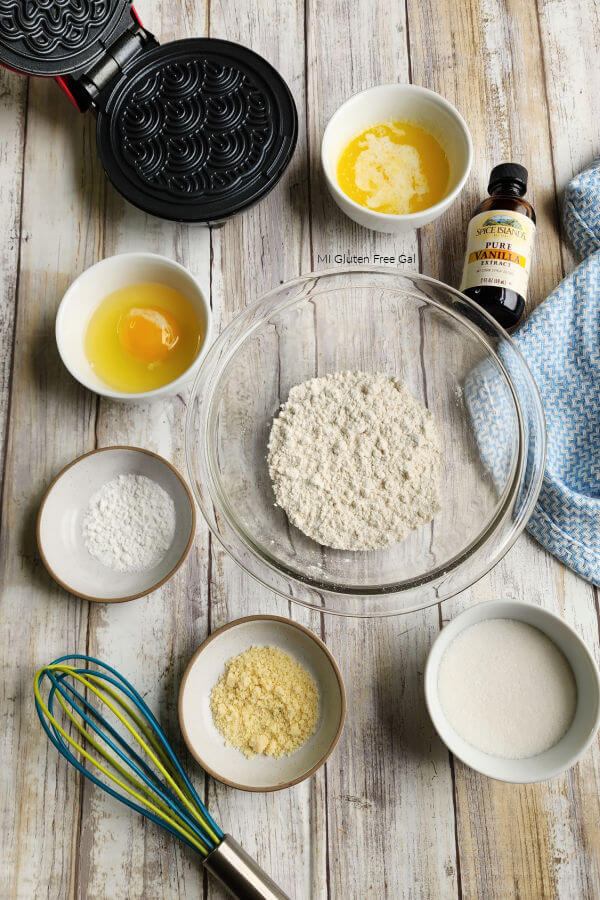
For my homemade recipe, I used King Arthur Measure for Measure flour blend. I simply substituted it in the pizzelle recipe in the Dash Instruction Manual. My Gluten Freee Choco Tacos recipe uses flour, baking powder, salt, sugar, melted butter, vanilla, and eggs. I have not attempted using dairy free or egg free alternatives. For that, I’d recommend using GF Jules Gluten Free Pizzelle recipe.
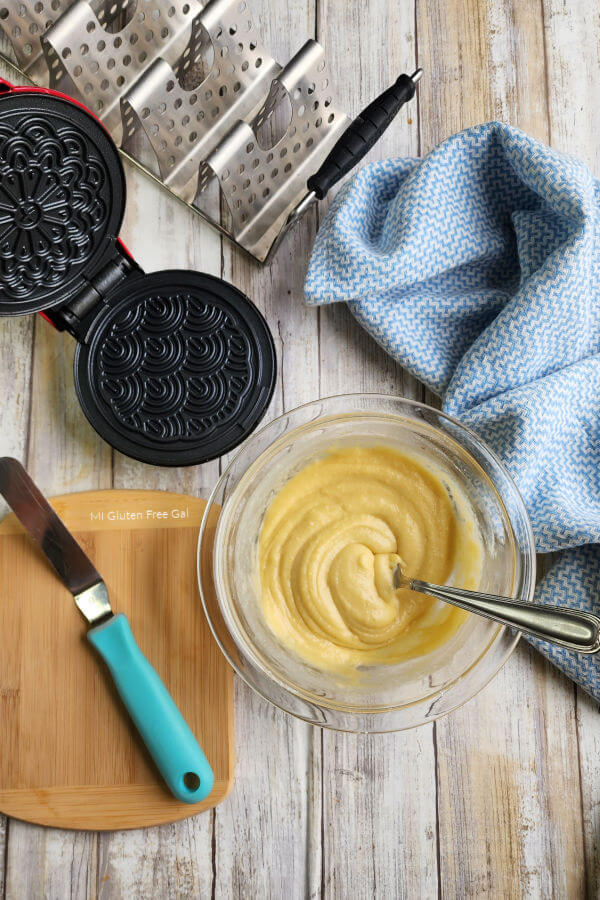
Keep in mind that different gluten free flour blends absorb moisture differently. Therefore, if you use a different flour than I did, you may need to adjust the moisture in your recipe. If it seems to thick and dry after making your first pizzelle, add a TEASPOON of milk. A little goes a long way.
How Do You Form the Choco Taco Shells?
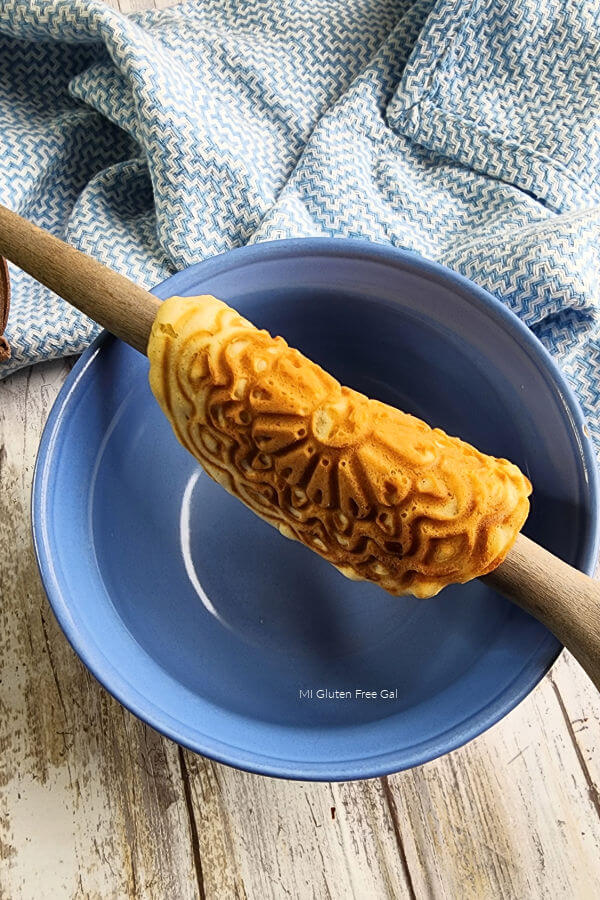
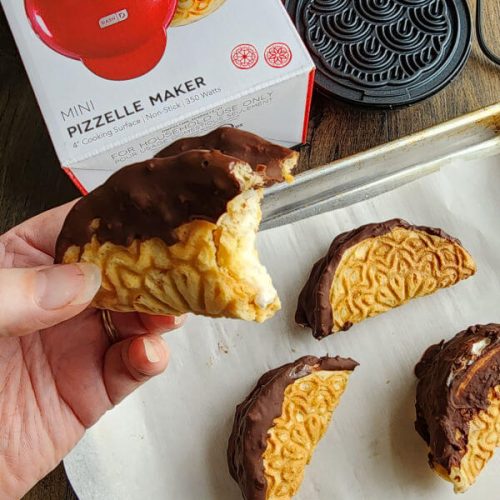
I baked my gluten free pizzelle in a Dash Mini Pizzelle maker. They cook in only two minutes. After removing the flat pizzelle from the maker, I used a taco holder to form them into a “shell.” If you don’t have a taco holder, you can drape a pizzelle over a wooden spoon, laid over a bowl. Please know that pizzelle cool quickly, so work swiftly. You may want to use tongs, as the pizzelle are hot when are done cooking.
How Do You Fill the Gluten Free Choco Taco Shells?
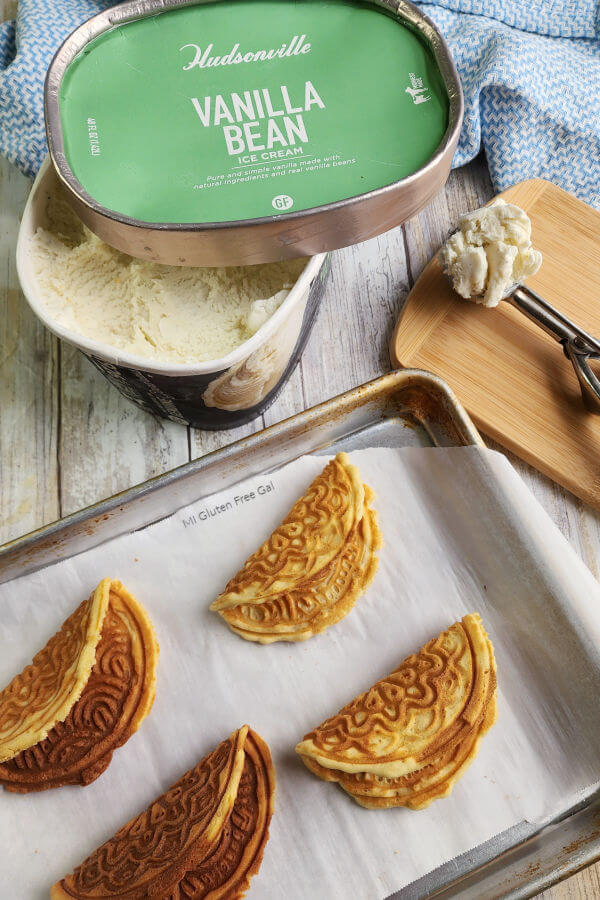
After your shells have completely cooled and hardened, you can fill them with your preferred ice cream. I choose Hudsonville Vanilla Bean ice cream. It’s labeled gluten free. In addition, I had the opportunity to tour their facility and ask about Hudsonville’s production protocols You’ll need to allow the ice cream to soften for a few minutes, in able to scoop and place it in your shells.
I used a 1.5 tbsp Pampered Chef scoop to fill mine. However you can use a standard soup spoon, if you want to. I find I need to gently push the ice cream into the shell with my fingers. Therefore, be prepared with a wash cloth nearby if your hands get too messy. Once your shells are filled, you’ll want to pop them in the freezer for 30 minutes. This allows the ice cream to refreeze. I do this by laying them on a parchment paper lined cookie sheet.
How Do You Make the Chocolate Topping?
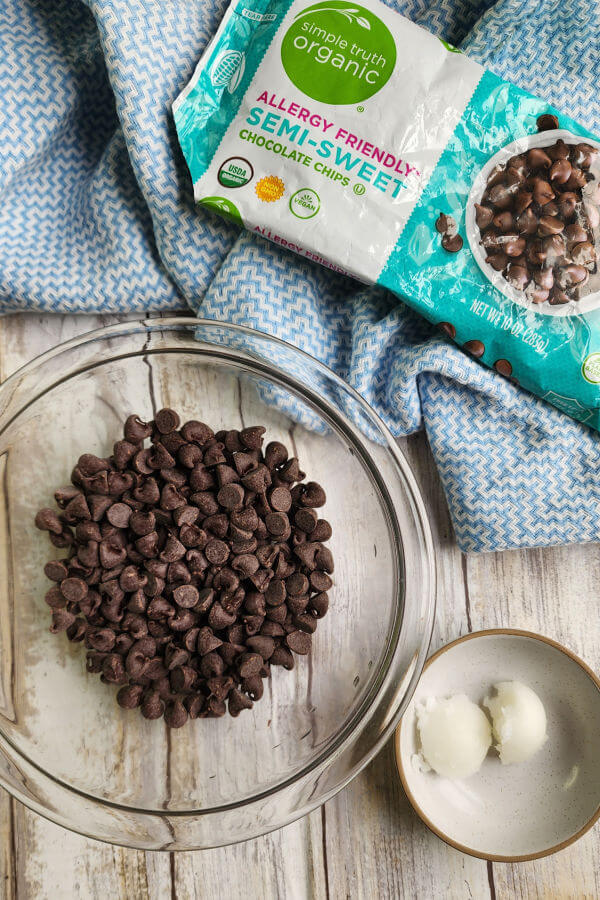
I purchased the chocolate chips in this photo at Kroger. They contain no gluten, dairy or soy. I found them to be similar to Enjoy Life Chips, only cheaper. On my first test run, I melted some random chocolate I had on hand. However, I found the coating to be too thick.
On my second attempt, I combined coconut oil with chocolate chips. This created something more like “chocolate shell” that you’d put on ice cream. If you use refined coconut oil, there is not coconut after taste. If you can’t eat coconut, shortening should also work.
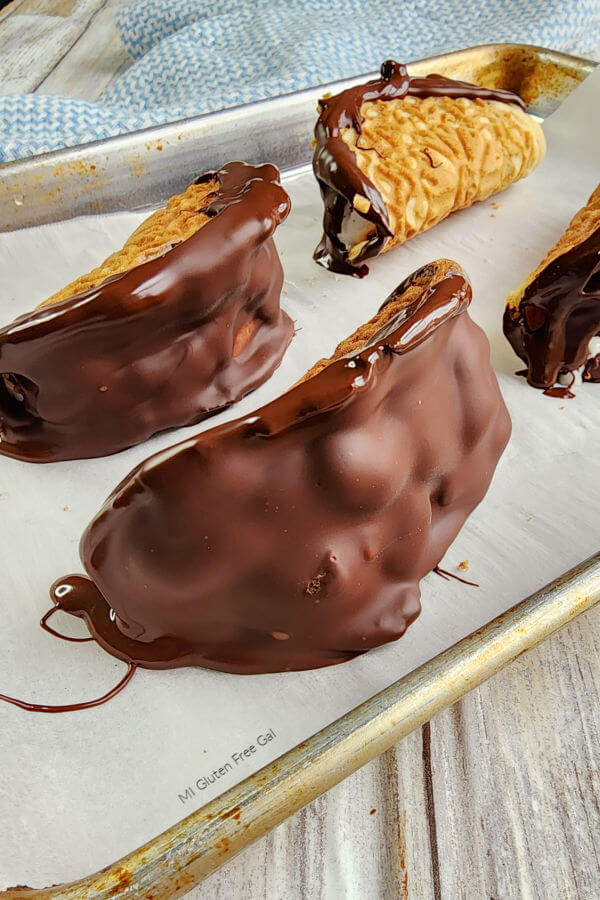
Traditional Choco Tacos have chopped peanuts. If you want to add peanuts, or colorful sprinkles, make sure to add them immediately after dipping. The chocolate sets quickly. After I dipped my ice cream filled shells, I laid them on a parchment paper lined cookie sheet, and stuck them back in the freezer.
Can I Make These Gluten Free Choco Tacos in Advance?
I admit that this dessert includes multiple steps. In my first recipe test, I successfully made the gluten free pizzelle taco shells at night. Then I placed them in a sealed container, and filled them with ice cream and dipped them in chocolate the next day. The finished Gluten Free Choco Tacos can be stored in a sealed container, in the freezer. The TastyBiteBlog recommends wrapping them individually, after which they can be stored for up to 3 months. However, I have a feeling they won’t last long!
Other Gluten Free Frozen Treats
If you’re looking for more desserts for Cinco De Mayo, try my recipe for Mexican “Fried” Ice Cream. (No frying involved!) Want to revisit your favorite Ice Cream Truck treats? Try Wheat by the Wayside’s Strawberry Shortcake Popsicles or The Fit Peach’s recipe for Gluten Free Ice Cream Sandwiches. Want to make your own ice cream? Try this 3 ingredient no churn vanilla ice cream recipe from Spending with Pennies.
Gluten Free “Choco Tacos”
Ingredients
For Pizzelle Taco Shell
- 1 cup King Arthur Measure for Measure flour
- 1 tsp baking powder
- 1/2 tsp salt
- 1/2 c sugar
- 6 tbsp butter melted and cooled
- 1 tsp vanilla or almond extract
- 2 eggs beaten
Instructions
- Place 6 tbsp butter in a small microwave safe dish. Microwave for 40-60 seconds until butter is melted. Allow to cool for 2-3 minutes.
- In a large bowl, combine flour, baking powder, salt, and sugar. Whisk to combine
- Add beaten egg, melted butter, and vanilla to flour blend. Whisk until smooth. The batter will be thick.
- Place one TBSP batter on preheatd Dash Pizzelle maker. Lower lid and cook for 2 minutes.
- Once pizzelle is done cooking, work quickly to drape it to form into a taco shape.
- To make a taco shell shape, you have a few options. I chose to use a taco holder as my form, and drape my cooked pizzelles on that. Another option is to drape your cooked pizzelle over a large wooden spoon, placed across a bowl.
- Repeat until all pizzelle batter is cooked, and shaped into taco shells
- To fill shells, remove ice cream from freezer and allow to soften for 5 minutes.
- Cover a cookie sheet with parchment paper. Place all taco shells on lined cookie sheet. Using a small scoop or spoon, fill each pizzelle taco shell with ice cream. You may need to use your fingers to gently push the ice cream in.
- Once all shells are filled with ice cream, place in freezer on parchment lined cookie sheet for 30 minutes so ice cream can harden.
- Meanwhile, in a medium bowl, combine chocolate chips and coconut oil. Microwave for 30 second intervals, stirring after each time, to melt chocolate. This took 1 – 1.5 minutes in my microwave.
- After 30 minutes, remove filled choco tacos from freezer. Working with only one or two at time, dip the tacos in chocolate, using a rolling motion from end to end to completely coat the taco. Spoon in melted chocolate to fill any gaps.
- If you would like to add chopped nuts or sprinkles, do so immediately after dipping in chocolate. The cold temperature of the ice cream will cause the chocolate to set quickly.
- Place coated choco tacos back on parchment paper, and return to freezer for 15 minutes to allow chocolate to completely harden. And then serve!
Notes
*This post contains affiliate links. Purchases made through those links help support this blog with no extra expense to you. Thank you for your continued support!**

Those look delicious!!!
Thank you!